How do you do a cheese board or cheese table? I can not begin to tell you how many times I asked myself that very question – maybe a million times or so. Honestly!
What cheeses should I choose? How many kinds of cheese should I use? How do you make it look impressive?
I even created a “Cheese Board” board on Pinterest. For many a night I sat up looking at pins of different cheese boards and pinning the cheese boards that appealed to me on some level. Some cheeseboards were simple while others took my breath away.
For the reception for Pastor Candy, the cheese board/table was to be the centerpiece of our serving tables, and we aspired to make her proud.
Luckily my friend Mrs. Ralph was helping me with planning the decor for the reception. She shared my yearning for an impressive cheese and fruit table that would also serve as the centerpiece of the serving tables.
I can still feel my elation when she called one afternoon saying, “I’ve got it.” (I knew exactly what she meant, and I couldn’t get over to her house fast enough.)
Be still my heart! When I saw her vision, I was elated. What a relief.
In case you have ever wondered about creating a cheese board, I will try to share some of what we did.
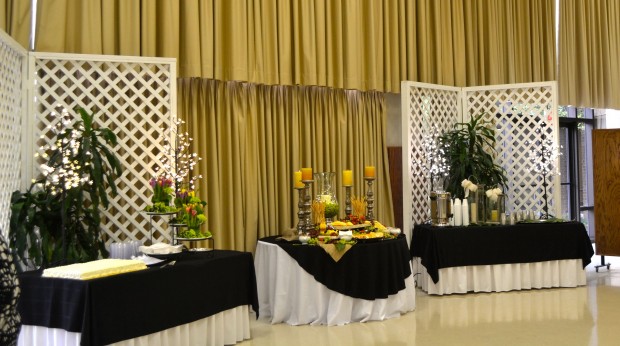
As I mentioned before, this table was to be the centerpiece of the serving tables.
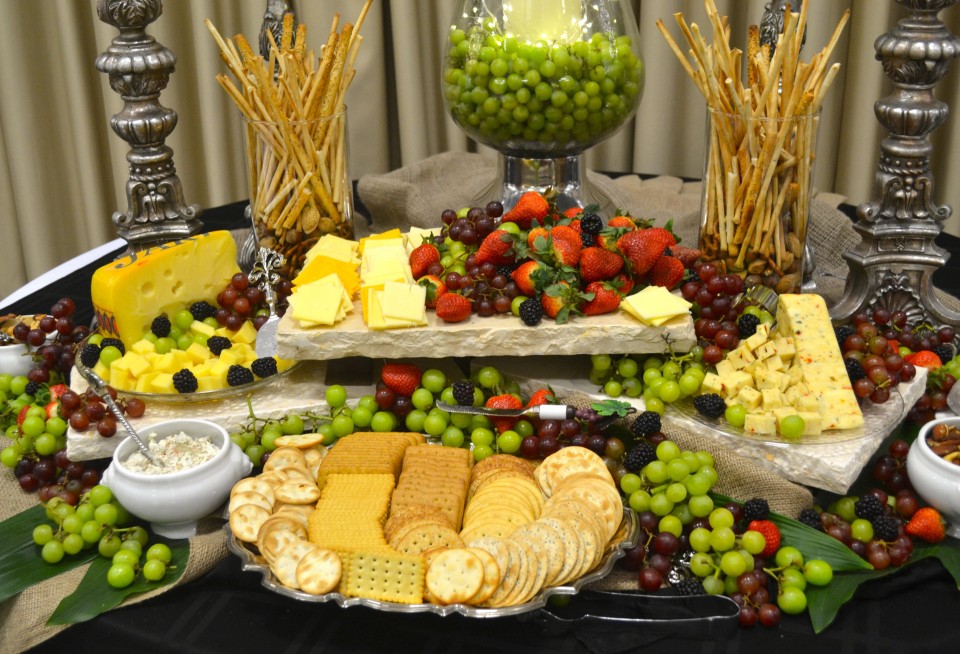
A church Fellowship Hall is huge and basically ugly. ( I do not know of a nicer way to say it.) We had two rectangle tables for the cake and beverages, and the cheese and fruit table was on a round center table.
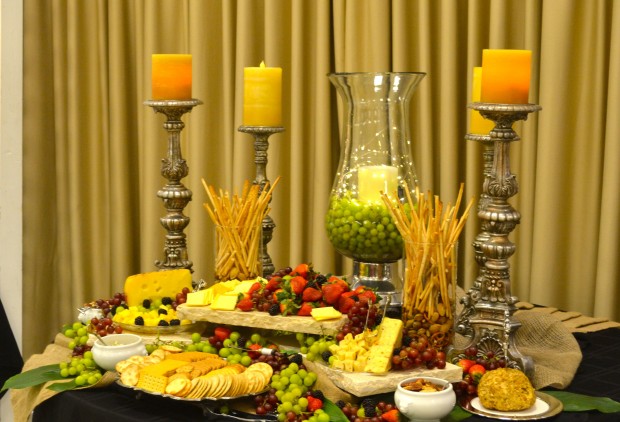
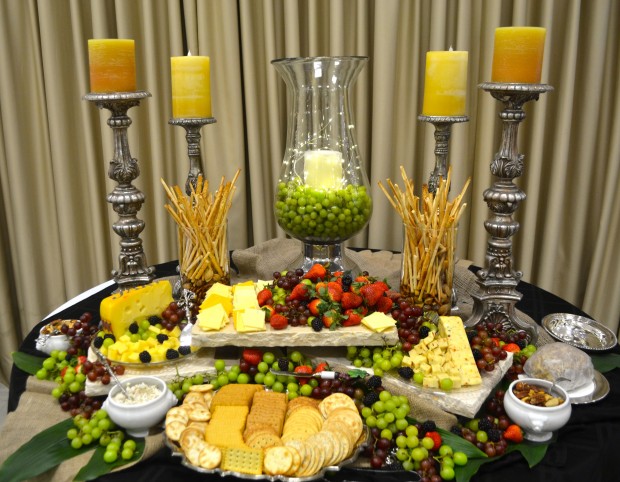
Mrs. Ralph had the gorgeous tall glass vase that has a silver base and the impressive silver candlesticks. The vase was filled with moss, grapes, a candle and fairy lights.
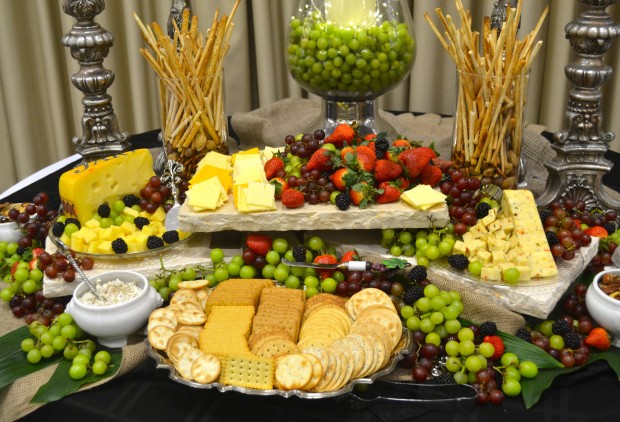
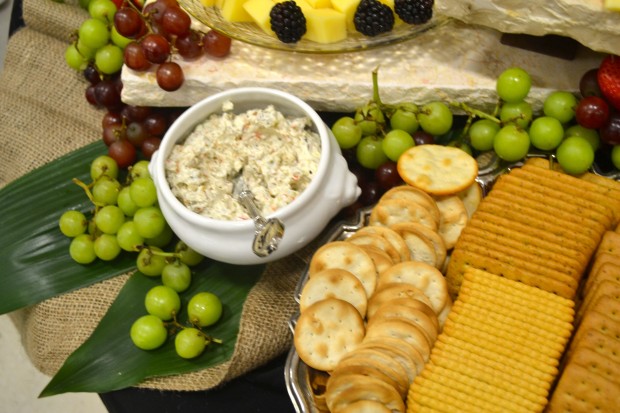
Three stone cheese boards on iron stands were stacked to hold the fruit and cheese. A silver tray held the crackers.
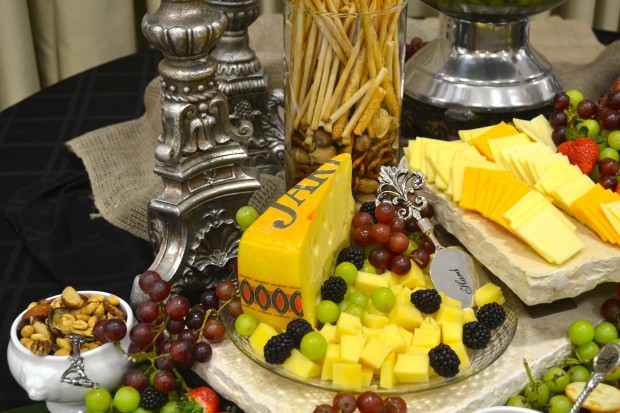
Two wedges of cheese (Jarlsberg and Monterey Jack with Spinach and Artichokes) were halved and one half of each wedge was cubed. Halving the wedges with the rinds showing gave an authentic look to the table. I basically chose cheeses that I like. Usually it is suggested to serve a hard cheese, a medium cheese, and a soft cheese. We did use some precut slices and cubes for ease of serving. I hate to be waiting in line while someone tries to slice cheese.
For “soft cheeses” we offered the olive spread and a cheese ball. I thought the girls were going to devour the olive spread before the party began.
Miss Jane donated the wonderful leaves from her cast iron plant that we used as a base for the display. During a Sunday lunch, we were sharing an article about what NOT to do on a cheese table, and the author mentioned he liked to use cast iron leaves on his cheese tables. Miss Jane mentioned that she had a cast iron plant in her garden, and she would share the leaves. Yea! They gave a good look to the display.
Shelled nuts filled the vases that held the breadsticks. Red and green grapes (snipped into small clusters) were draped over the serving boards. The bright red strawberries gave a pop of color to the table. I loved the blackberries that were scattered about.
The table was elegant with rustic touches, and I thought it gorgeous. Thank you Mrs. Ralph!
Blessings to you and yours,
The stone cheese boards are from Wisteria. Just sharing.
If you have questions, we will try to answer them.

